Its that time again the Clarity Stamp Challenge starts afresh today. The theme is
Love and Romance
Well hello there! Its ages since I have blogged. Not like me at all but sometimes life takes over crafting which is usually about the time that crafting takes off big time!! I have so much to catch up with on here I hardly know where to start, I have a launch in two weeks of my "Altered Art" in Kings Café although I know what style and theme everything will be in I have only actually made the main Design projects and not the two boxes of kit I have to decorate!!! I had a two day workshop with Hels Sheridan which is always inspirational and I have done my own class in Hobby Craft under my other guise "SamsHomeCookedDesigns" but I still used my Gelli Plate and all Clarity Stamps Stencils. Well its who I am?? I love the products outside of the DT work too, I was a fan from the minute I saw Barbara making a fantastic picture out of nothing on C&C, so being on the Design Team and all it entails is my absolute priority over everything else because I feel so lucky to be in my shoes, so being on the Challenge DT is great too because we get to be a bit self indulgent in what we do, I really think I should actually do a card for the next challenge, we'll see? But the Clarity products lend themselves to any form of Art I think, altered, Mixed Media, Sophisticated, etc etc. .
On this occasion I have used a little lady who I have hankered after for absolutely months she kept getting pushed down on my list, you know why? because I knew once I got her I would just want to make tags and Book Covers and Journal pages with her all the time and I wouldn't get my DT work done!!! Well she sat there looking at me for about a week after buying her, I couldn't wait to get my hands on her (uw ar madam)!
So I had the Clarity Challenge Project to do, and she was sitting looking too clean so I had just bought a Hanging picture frame to decorate and she was perfect for it. I also dug out my Clarity Swirl mask too, I love this mask especially for using my embossing paste and GP, it gives a great indent.
Here she is, La Petite Musique
isn't she just gorgeous, Imagine being able to draw images like this? Well I don't need to now.
The next lady on my list is Large - Amethyst
I did a bit of a picture tutorial but not as comprehensive as the House Canvass I am afraid. But actually it doesn't need that many pictures because it is very simple to do. I am a bit disappointed in how the photograph came out though, my IPhone used to take pretty good photos but they all seem a little dull these day. So although this Hanging frame does look very dull it is actually a much nicer colour in real life, it has a lot of Gold on it, so please think of that when you look at it.
Items used:
Hanging Photo Frame - re-cycled - or Altered Art
La Petite Musique Clarity Stamp as above
Clarity Stamp System 3 Paints
Treasure Gold
Wendy Vecchi Embossing Paste - white
Clarity Stencil - Curly Strip
You get the innie and the outie with this Stencil and I usually use the innie but I wanted a lot of surface area covered so I used the outie!
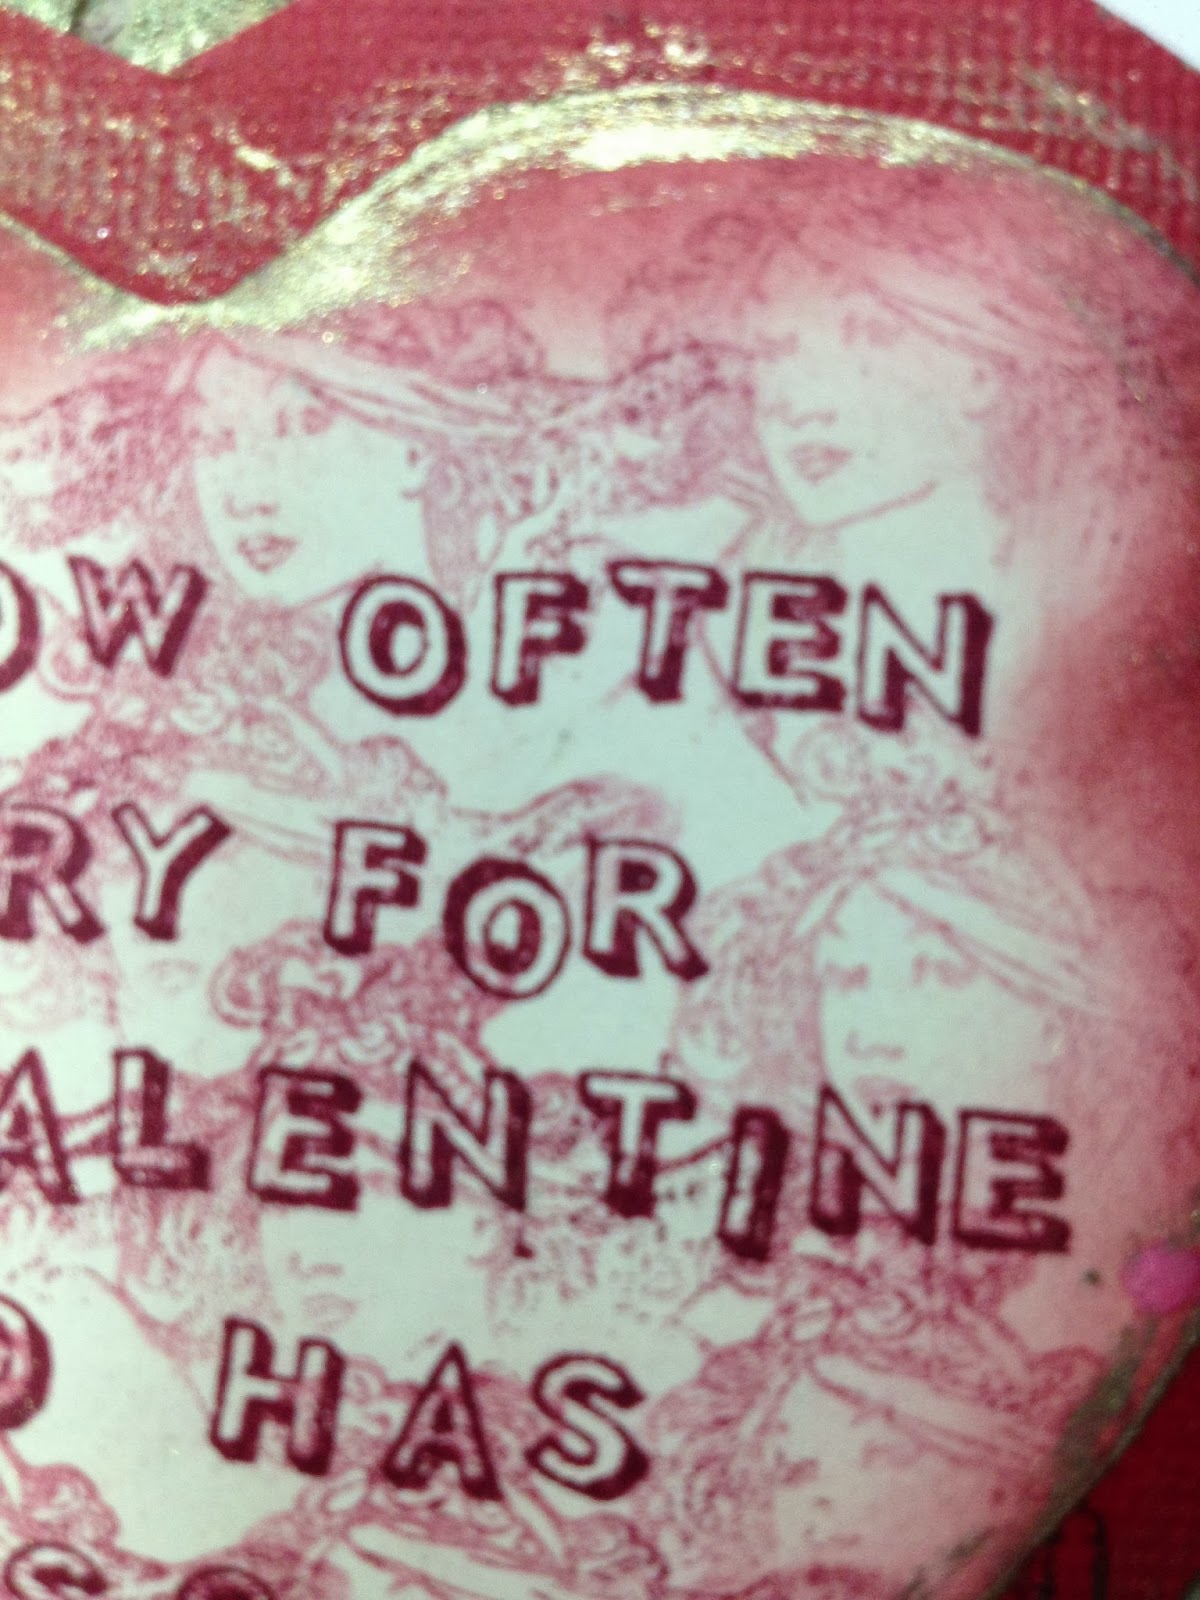
I like to make little verses up to go with the projects I am doing, unless of course I already have an appropriate stamp with a verse then I don't need to. I was thinking of how people feel on Valentines Day when they think of loved ones who have passed by, in death and life /or Love. You know I think my Husband has only ever been home once on Valentines day in the whole time we have been married?? Well its for kids isn't it really?? SWALK and all that.
Did you notice the subtle background with La Petite Musique? To do this I just held the stamp in my hand and did Barbara's stamp blot plot, or stamp plot blot??/ Oh she is on TV again on Sunday 2nd Feb so I am sure she will tell us again! Bright and early 9-11 and 2-3
So I haven't got a photo of the frame before I started to decorate it, it had been given three coats of paint and a sanding down before I had even had a sip of my tea! I always make a cup of tea as I am about to start a project, probably because I know I will be there for a good while! Once I am engrossed the time just disappears. I stamped my image over the undercoated, sponged and sanded background. That is the colour that is coming through the stamp. I heat embossed her so that she wouldn't end up being hidden.
With the Swirl Stencil and Embossing paste I covered all the frame around my image. I placed it from one corner to the other across the Heart in the middle for my first paste session, then just kept moving it around placing it next to the last finished section and recovering the edges.
This is the result. It actually looks like stone when you have it in front of you, but this paste is squashy and warm to the touch.
Then I added some Treasure Gold - you know I have tried this with a brush, a wet wipe, a paper tissue, it just eats them all up too quick, it dries too quickly on everything it touches, but is worth the effort because it looks gorgeous. I always go back to my finger but you can't get into the crooks and crannies that way, again because it dries too quick on your skin! - So I am open to hints and tips and suggestions on this one, anybody?
Now I bet you are thinking that this doesn't look too pretty really. Well I thought the same which is why I added some more red on top of the Treasure Gold. My Lady is still sitting pretty as she is.
I used the Do-craft Red because semi-opaque because it doesn't completely blot out what is underneath. It went on a bit patchy with a wet wipe but I kind of wanted that. I really need some good stiff paint brushes. I would use my Clarity Stencil Brushes but I will get a second set for this I think.
So there you have it, can you see what I forgot to do?? At least you can see the Treasure Gold a bit more in this picture. Doesn't she look lovely sitting in the corner there!
Well I think she did look pretty sitting in the corner but I think the rest of the projcet didn't look pretty, so I re-painted it!
So we went from the above look to
 T
Tto this look and from
this to
and then in middle panel I heat embossed this Gorgeous Heart Clarity Stamp
And then I white washed it to dull it a little.
So even when you think you are completely finished, if you are not happy with the results its easy and acceptable to make changes. Its especially easy with paint, you just white wash everything and re-colour. So I hope you like my project and hope you will have a go at our Clarity Challenge even if you think it might not be perfect.
I hope you like it and I hope you will have a go at a little something yourself, Altered Art a Candle or what about A Card!! in our http://claritystampchallenge.blogspot.co.uk/2014/01/challenge-11.html
There is a fantastic prise for the winner - a £50 Gift Voucher to spend on Clarity Goods, the Design Team will also pick our Top 5 - yes we really do look at every card entered and comment on your Blog if you have one. Our Top 5 will be featured on the Challenge Blog too so I hope to see you on there soon?
I appreciate all/any comments left on my Blog and all new followers are more than welcome. xxx
bye for now and Carry On Crafting
Sam xx
bye for now and Carry On Crafting
Sam xx


Blooming heck lass, you've been busy! Amazing, love the depth, colours, subtlety is sublime! Sam, you are amazing! X
ReplyDeleteAmazing Sam, so inspiring xx
ReplyDeleteWow Sam it looked good the first time but now it looks amazing! I love all that texture you've got and you're quite right it does look like stone. I haven't got the fabulous heart stamp but I love it and it's on my wish list xxxx
ReplyDeleteFab project Sam and it's lovely to see how you got to the finished piece. I love the colour on both versions but I really love that Clarity heart stamp so that probably makes the second one my fave. x
ReplyDeleteThis is fab Sam and thanks for sharing how you did it xx
ReplyDeleteIts great Sam and I have really enjoyed reading how you did it. Fantastic depth and texture.
ReplyDeleteFantastic as always Sam....so tactile.....and great tutorial too...hugs...Jo. X
ReplyDeleteI have to admit to a tear or two when I read that verse. I actually loved both versions of that background, Sam. As far as drawing is concerned, we have all been seriously spoiled by Barbara's talent in providing us with such lovely images to work with, and as you say, they lend themselves to so many methods of using them. Hope you got your project finished in time, and thank you for sparing the time to have a nose at my blog. Speak soon. xx Maggie
ReplyDelete